Siniat GTEC Standard Board
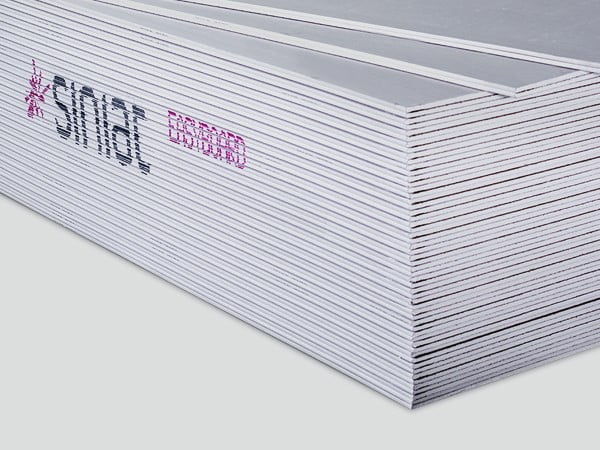
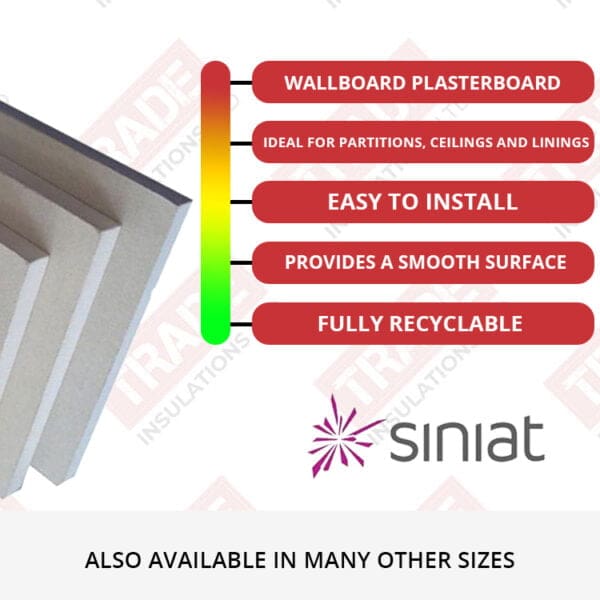
Siniat Standard Board represents a versatile gypsum board designed for partitions, linings, and ceilings. Available in a range of sizes, it is well-suited for tape and jointing or skimming. Whether employed individually or in multiple layers, this board is exceptionally adaptable.
Crafted with a gypsum core and sturdy paper linings on both sides, the Siniat Standard Board is both easy to cut and handle. Its primary advantage lies in its ability to deliver a smooth surface that’s primed for the finishing touches of your project. Furthermore, its wide array of cut sizes minimises material waste during installation.
Notably, Siniat GTEC Wallboards are fully recyclable, aligning with sustainability efforts in construction. This makes them a responsible choice for those seeking both versatility and environmentally-friendly building materials.
Showing all 6 results
Pallet Of 12.5mm Siniat GTEC Standard Plasterboard – Tapered Edge (72 x 2400mm x 1200mm x 12.5mm) 207.36m2
Original price was: £673.17.£648.00Current price is: £648.00.Siniat GTEC Standard Plasterboard
Siniat GTEC Standard Wallboard serves as a versatile drylining board designed for general applications. To facilitate easy identification on site, the GTEC Standard Board features an ivory-colored front surface and a grey-colored back. These wallboards can be used for partitions, linings and ceilings.
The composition of this board consists of aerated calcium sulfate di-hydrate encased within liners made from recycled waste paper, all securely bound with starch. The edge glue employed is PVA, ensuring structural integrity.
In terms of compliance, the GTEC Standard Board adheres to the standards outlined in BS EN 520:2004+A1:2009, categorised as Type A.
The weight of the boards varies by size, as follows:
- 17.3 kg for the 2400 mm x 1200 mm x 9.5 mm board
- 23.0 kg for the 2400 mm x 1200 mm x 12.5 mm board.
- 28.8 kg for the 2400 mm x 1200 mm x 15.0 mm board.
Siniat's GTEC Standard Boards achieve a Euroclass A2-s1, d0 reaction to fire rating, highlighting their fire-resistant properties. These boards can be easily cut using the 'score and snap' method, eliminating the need for power tools. They are compatible with gypsum finishing plasters manufactured to BS EN 13279-1:2008 standards. The ivory-colored front surface of the boards is suitable for decorating, but they should be primed with drywall sealer before decorating for best results.
Advantages of Siniat Wallboard
- Ideal for both new builds and refurbishments
- Easy installation
- Durable and long lasting
- Variety of sizes to suit every project
- Fully recyclable
- The boards can be fixed with drywall screws and adhesive
- Suitable for direct decoration
- High resistance to deformation
- Singular or multiple layer applications
- Accepts wide range of paint and finishing products
- Easily finished with plaster
Siniat boards can be cut to size by scoring one side of the board with a sharp knife, snapping the board over a hard edge, and then scoring the other side. Holes for sockets etc can be easily cut with a utility saw.
Siniat Wallboards should be stored internally on a flat surface. If indoor storage is not an option, ensure the correct waterproofing materials have been applied and the boards are off the ground. Do not use the boards if they are allowed to get wet. In addition to this, do not put any excess weight onto the boards as they are made from Gypsum and can damage due to too much pressure.
Technical information for the Siniat GTEC Wallboard Plasterboards can be found below:
Siniat Wallboard Plasterboard Datasheet
Siniat Plasterboard Safety Datasheet
Siniat DB Board Declaration of Performance
How to install Siniat GTEC Wallboard
Siniat GTEC Boards can be installed in a range of methods. These methods include:
- Metal and Timber partition wall applications
- Wall linings
- Ceiling applications
Installing Siniat Wallboard plasterboard requires careful planning and precise execution to achieve a professional finish. We have written a step by step guide to show the installation process. Please note, we always recommend that you consult a building professional when installing plasterboard. The tools you may need to install Siniat plasterboard can be seen below:
- Metal or wooden studs
- Screws
- Measuring tape
- Utility knife
- Saw
- Screwdriver or drill
- Level
- Drywall adhesive
- Jointing tape
- Jointing compound
- Corner beads (if needed)
- Safety goggles
- Dust mask
Measuring your wallboard
Firstly, you should ensure that your installation area is clean, dry, and free from any debris. Measure the area where you will install the plasterboard to determine the size of the boards needed. Plan the layout, taking into consideration the location of studs and joints.
Cutting the Plasterboard
The wallboard can be easily scored with a utility knife and then snapped along the line for a clean cut. Simply mark where you want to cut and snap off the board you want to install. Make sure to wear safety goggles and a dust mask to protect yourself from dust and debris.
Fitting your Siniat Wallboard
Position the GTEC wallboard against the wall or ceiling, ensuring it aligns with the studs. Siniat Wallboard plasterboard has one ivory coloured side (front) and one plain side (back). Ensure that the front side is facing outwards. Once positioned in place, you can secure the plasterboard to the studs using screws. Space the screws every 6-8 inches along the edges and 12 inches in the field.
Quality check your Siniat GTEC wallboard
Use a level to ensure that the plasterboard is perfectly straight and level. Adjust as needed, and tighten the screws securely without over-tightening, which may damage the plasterboard.
Decorating your Siniat Standard GTEC Wallboard
Cover the seams and screw holes with a layer of jointing compound using a trowel. Embed jointing tape into the wet compound along the seams. Allow it to dry completely.
After the first layer of jointing compound has dried, sand it smooth and apply additional layers as needed until the seams are smooth and invisible. Sand between each layer for a seamless finish.
Once the jointing compound is dry, sand the entire surface to achieve a smooth finish. Siniat recommends that you apply a drywall primer. Once this is done, you can now paint or finish the plasterboard as desired.
Cleaning up after you have installed plasterboard
After you have installed your Siniat Wallboard, you should clean up any debris, dust, and leftover materials from the installation area. Please note that leftover materials could potentially be used for another job. If you no longer have use for the leftovers, then we recommend that you dispose of this safely.
Dispose of plasterboard in a responsible manner by either taking it to a household waste recycling centre for safe handling or arranging for collection by a licensed waste carrier who can ensure it is properly recycled and restored.
For more detailed information, we suggest you follow the manufacturer's specific instructions, as they may have unique recommendations for their products. Proper installation and finishing will ensure a professional end result.
Are metal partitions quicker to install than timber partitions?
The install times of each method depends on the skill of the person and the complexity of the job. With that in mind, it is said that creating metal frame partitions is far quicker than working with timber. Siniat actually tested this using a professional and comparing the two. In their experiment they concluded that creating metal frame partitions is quicker. You can see the experiment for yourself below:


