Installation Guide: PIR Boards
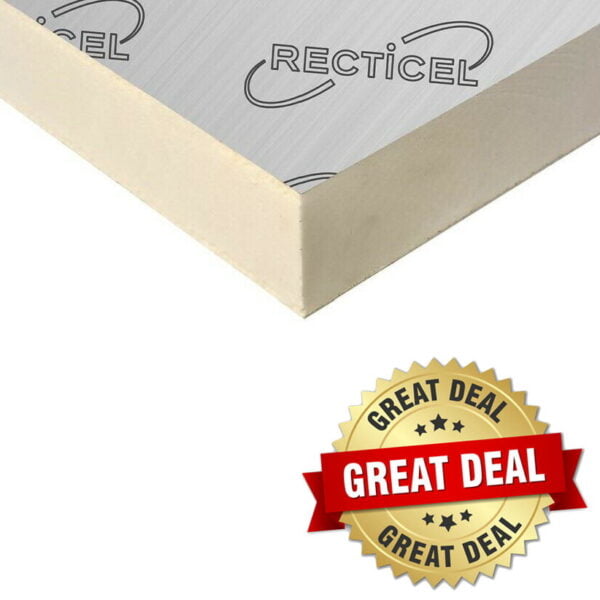
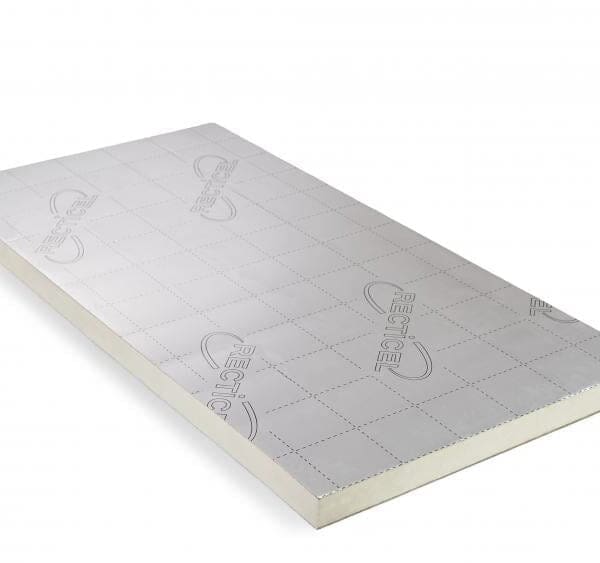
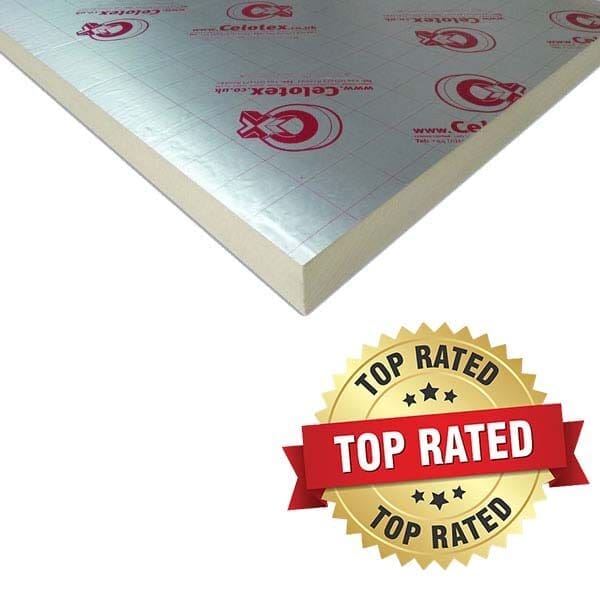
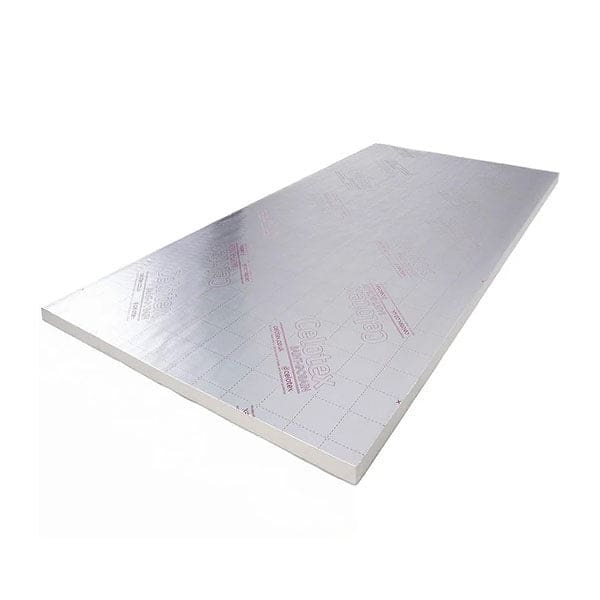
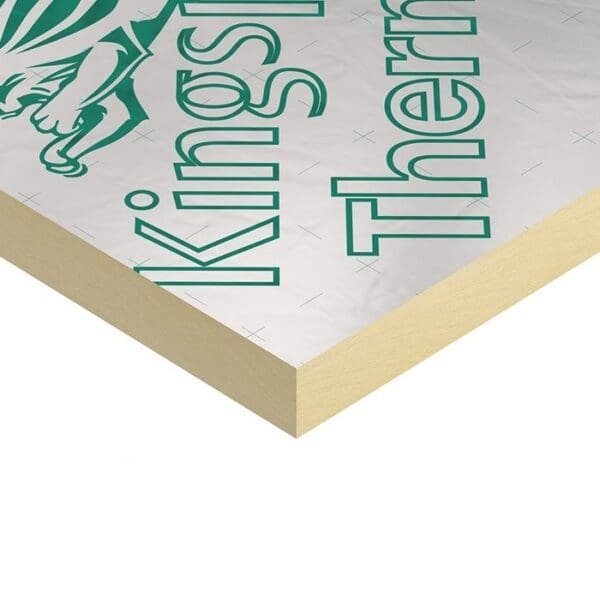
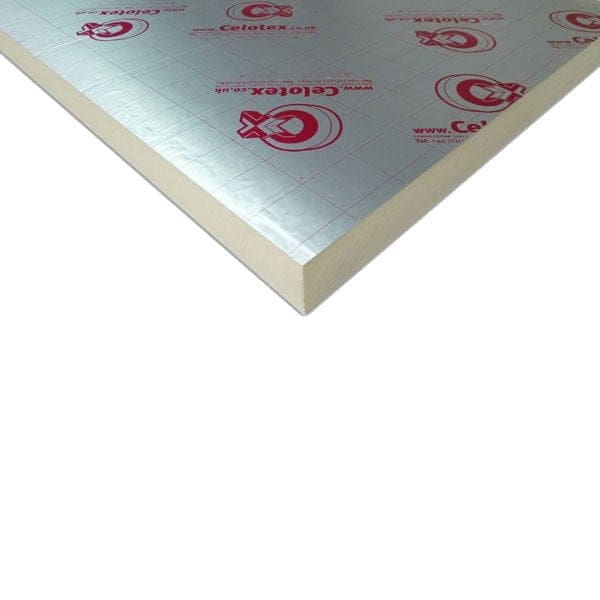
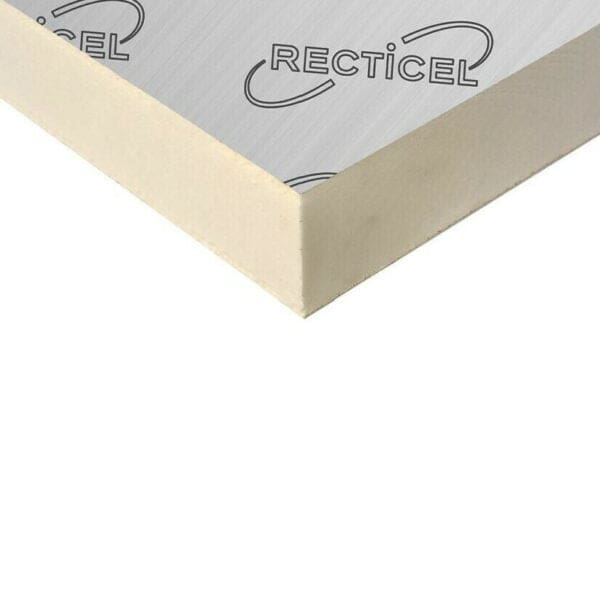
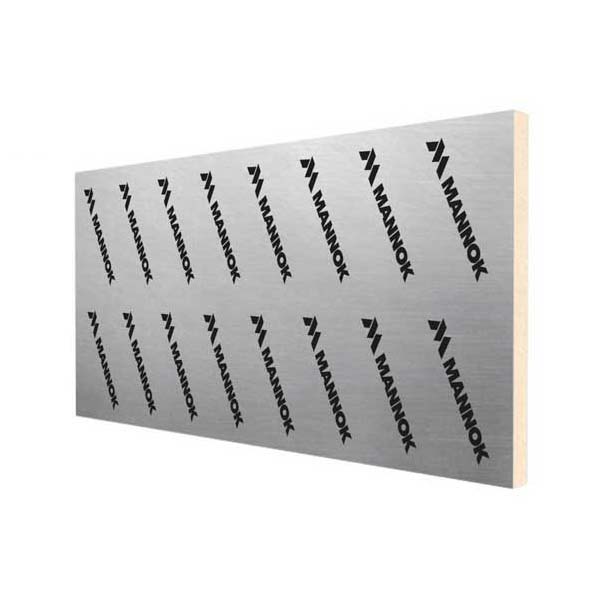
General purpose PIR insulation boards are an insulation material that consists of a Polyisocyanurate (PIR) board bonded to a layer of low-emissivity foil on each side.
The foil facing is used to reflect heat back into the building to prevent heat escaping. Therefore, when heat rises within the property the foil will reflect the heat back, heating the building again from the top down or the outside inward.
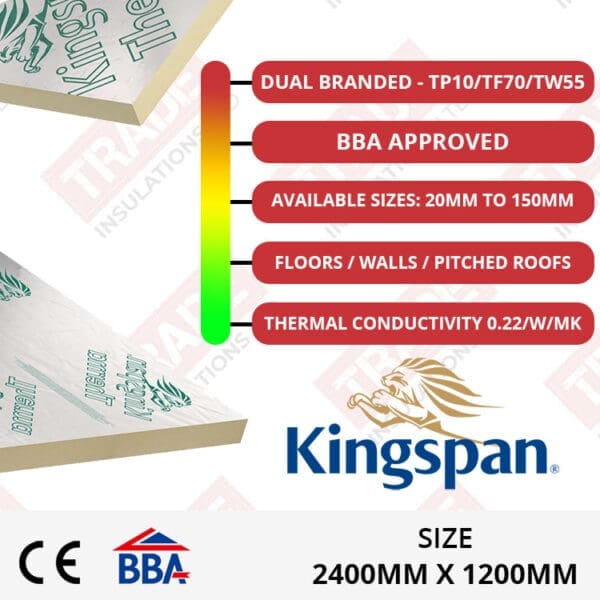
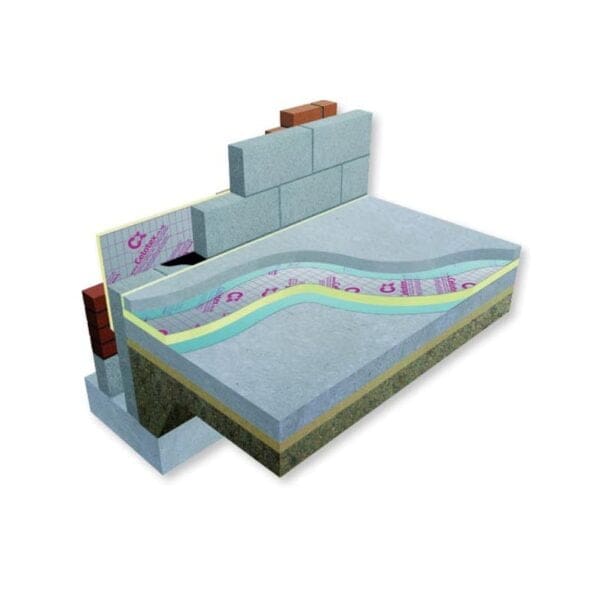
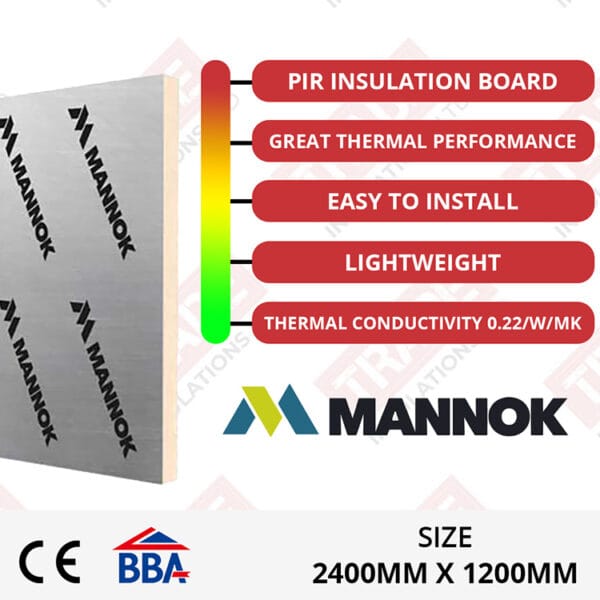
PIR boards improve the properties thermal envelope and can be installed within roofs, walls, floors, and ceilings. The boards are 2400mm x 1200mm and come in a range of thicknesses between 20mm and 200mm with a high thermal conductivity of around 0.022W/mK dependent on the product type and the brand (be sure the check the product specifications).
Understanding PIR Insulation Boards:
PIR insulation boards are lightweight and easy to cut, handle, and install and can be used within residential or commercial buildings. When exposed to fire, PIR can emit toxic gases, therefore adhering the safety guidelines and building regulations is crucial.
PIR Thermal Properties:
Prior to installing your insulation, it is important to have an understanding of the properties of PIR insulation boards. PIR boards have a high thermal resistance (R-value) which means that they reduce heat transfer. When considering that PIR insulation boards are a material designed to keep the heat within the property, you can better understand how gaps within the boards and unsealed edges may create a route in which heat can escape from the property.
Addressing Risks and Moisture Concerns:
Moisture levels within the building will need to be assessed prior to installing PIR insulation boards. PIR boards installed within a moist environment can cause mold, damp, structural damage, and rot. In some cases, installing PIR in cold, damp conditions can impact the integrity of the building. It is crucial to manage existing moisture before installing PIR boards.
Installation Techniques:
The installation method used to install PIR installation boards will differ dependant on the property and the type of wall the insulation is being applied to. The type of wall will also decipher which adhesive or fixings will be compatible for your building. It is also essential that the boards are cut to the correct size and installed tightly butted together with no gaps in between the board joins.
Building Regulations:
Building regulation will vary depending on the location and application method. Prior to installing your insulation be sure to familiarise yourself with local regulations regarding insulation materials, energy efficiency, and fire safety. Make sure your projects meet all of these requirements in order to avoid penalty fines and to ensure a long lasting and reliable insulation system. Always consult with building professionals to confirm regulations and procedures, and to ensure you are using the correct application method and material for your property.

What type of wall do you have?
Solid Masonry Walls:
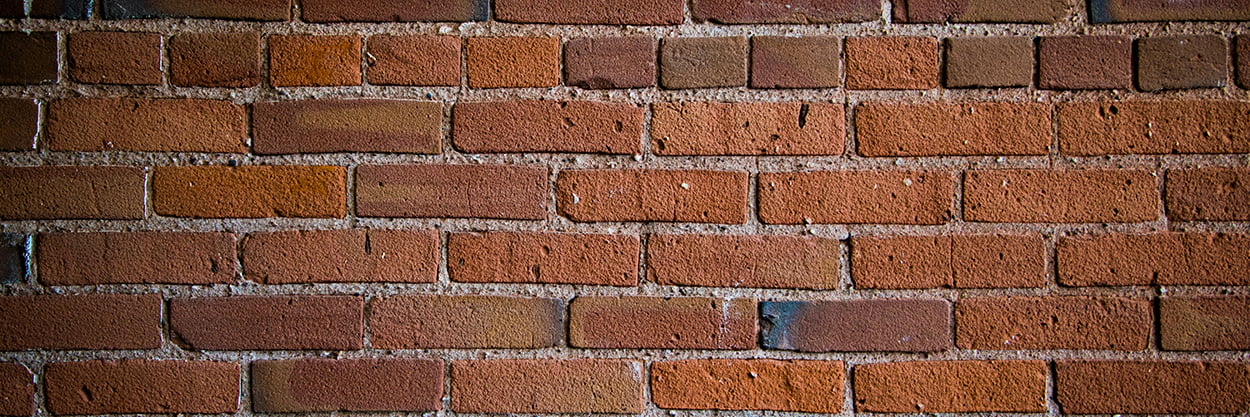
Solid walls are generally a wall formed of either bricks or concrete blocks where the materials remain exposed with no fixtures or fitting applied to the wall. These solid walls require the dot and dab method to apply insulation which requires applying adhesive directly to the wall and pressing the insulation boards onto the wall. Mechanical fixings can also be used to secure the boards.
Timber Frame Walls:
Timer frame walls, also known as timber stud walls, are a popular construction method and consists of timber battens fixed to the walls to offer stability and a fixture in which other materials such as plasterboards and insulation can be applied. For this wall, insulation boards can be cut and fitted between the timber studs ensuring a tight fit. Mechanical fixing are optional and other materials can then be applied over the insulation and on top of the battens.
PIR insulation boards can also be applied directly over the timber frame as opposed to within the timber frame. The boards are joined at each batten and secured with the required fixtures and fittings.
Cavity Fill Walls:
Cavity walls are the external inner and outer leaf of the building, between the inner and outer walls is a cavity between them. For this application cavity wall boards can be installed as the wall is being built.
Metal Frame Walls:
Metal frame walls are similar to timber stud walls however instead of wooden battens, steel or aluminium studs are fixed to the walls. Insulation can be fitted within the studs and other material applied on top of the metal studs. Metal furring channel can be attached to the metal frame and the insulation boards can be installed between the channels.

How to Cut PIR Insulation Boards
When insulating your property, PIR (polyisocyanurate) insulation boards are a reliable and popular choice due to their ease of installation and outstanding thermal properties. In order to install your insulation materials with the upmost efficiency and precision, an accurate cutting technique is essential. Here we will explore how to cut PIR insulation boards, what you need, and the safety precautions.
What You Need:
- Flat or Stable Surface
- Fine-toothed Saw or Utility Knife
- Straight Edge Ruler or Cutting Guide
- Measuring Tape
- Permanent Marker Pen
- Safety Equipment

Safety Measures To Consider When Cutting PIR Board
Safety Equipment
Prior to cutting your PIR insulation boards, protective clothing should be considered such as a face mask, gloves, protective eyewear / goggles, and protective clothing. The debris and fine particles that are produced when cutting PIR Insulation Boards may irritate the respiratory system as well as the eyes and skin. Wearing a mask can prevent inhalation of the airborne particles and goggles and protective gear can avoid irritation to the eyes and skin.
Constancy:
Always ensure that the PIR insulation boards are firmly supported and stable when cutting the boards. This will prevent unexpected movement that could result in injury or faults to the cutting, markings and measurements. The board can be placed on a solid base such as a table, flat flooring, or joists and secured using wooden battens. Clamps or weights can also be used to secure the board if necessary.
Cutting
When cutting PIR insulation boards always be sure to use a sharp knife to avoid injuries caused due to needing more force and pressure to cut. Sharp blades achieve cleaner and more precise cuts. Cutting may need to be carried out throughout the install, ensure your sharp knife or saw has a designated place when not in use can prevent accidents.
Step 1: Measuring and Cutting
Prior to cutting your board, very carefully measure and mark the required dimensions of the PIR insulation board using a tape measure, a straight edge ruler, and a permanent marker pen. Always double check your markings to avoid waste and guarantee accuracy. A good tip to follow here is measure twice and cut once.
Step 2: Score and Snap
When using a sharp blade or utility knife, start by scoring the insulation board following along the marked line. Apply pressure to get a deep score but be cautious not to cut through to the other side of the boards. Once you have scored one side of the board, carefully bend the board or snap over a hard edge to achieve a clean snap.
When using a fine-toothed saw, saw along cutting through the entire thickness of the board following the markings.
Step 3: Accurate Fit
Once the insulation boards have been cut, a small knife or sandpaper can be used to smooth any rough edges or trim excess material. This is a quick way to ensure an accurate fit between the boards and minimise gaps caused by uneven edges. Sandpaper can also be used if the fit between boards is slightly too tight.
How to install PIR Insulation Boards to Solid Masonry Walls Using the dot and dab method
When applying insulation to a solid wall, an insulation thickness between 60mm and 100mm is recommended when applying PIR insulation boards.
What You Need:
- PIR Insulation Boards
- Adhesive
- Aluminium Foil Tape
- Spirit Level
- Sharp Blade or Fine-toothed Saw
- Tape Measure
- Trowel
- Mechanical Fixings
- Temporary supports
- Bonding agent (optional)
- Protective Gear (goggles, face mask, protective clothing)
- Permanent Marker Pen
Step 1: Prep the Area
Remove materials such as wallpaper, thick paints, skirting boards, and coving. If render is stuck to the brickwork, remove all render, and clean away the dust.
Make sure that the solid wall is clean, dry, and free from excess dust and debris. Be sure to wear a face mask when doing this.
Step 2: Measure and Cut
Measure the walls and ensure that the board is the correct measurement to fit against the solid walls ensuring that there is a 15mm space at the bottom. Cut the boards to size using a sharp blade or saw if required. Place boards against the wall prior to applying adhesive to confirm that they fit. Take fixtures, fittings, and openings such as sockets and windows into consideration before applying adhesive.
Step 3: Bonding Agent – Optional
Applying a single coat of diluted bonding agent is recommended at this stage but not essential. This will prevent dust from impacting the quality of the bond between the wall and the insulation material.
Then, apply an undiluted bonding agent to the back of the boards in widths of 15mm bands around the perimeter of the board and down the centre.
Step 4: Prep and Apply the Adhesive
Prior to applying the adhesive, drawing board guidelines on the floor and ceiling can be helpful. Using a trowel apply a continuous band of adhesive around the perimeter of the walls and around all edges and openings.
Apply adhesive to the rest of wall in a dot and dab pattern with the dabs at a thickness of 10-25mm, apply the adhesive in 3 vertical rows per board. Make the dabs around 50-75mm wide and 150mm long.
Step 5: Secure the Boards
Get the insulation boards into place against the wall and apply gentle pressure to ensure the boards adhere correctly to the wall. Make sure the boards are fitted flush with one another. Temporary supports can be placed at the bottom of the boards to ensure the 15mm gap is maintained. Ensure to tightly butt the insulation boards together to avoid gaps between the boards. Use a spirit level to confirm the boards are straight and level.
Step 6: Mechanical Fixings
Apply 6 mechanical fixings per board using the required fixtures and fittings best suited to your application. This will prevent the board from coming away from the wall in the event of a fire. It is recommended to check manufacturer guidelines prior to mechanically fixing the boards.
Step 7: Finishing Touches
When the boards have been applied and mechanically fixed to the wall, remove the temporary supports. The 15mm gap at the bottom of the boards can be sealed with a combination of polyurethan foam and flexible sealant or the equivalent.
Applying foil tape to all board joints to avoid thermal bridging occurring is optional. Plasterboard can then be applied on top the boards.
How to install PIR Insulation Boards into a Timber Frame Wall using Mechanical Fixings
When applying insulation into a timber frame, the insulation thickness will depend on the depth of the timber frame on the wall. The thickness of insulation should match the depth of the cavity so the insulation can sit flush with no protrusions. .
What You Need
- PIR Insulation Boards
- Mechanical Fixings
- Aluminium Foil Tape
- Protective Gear (goggles, face mask, protective clothing)
- Tape Measure
- Sharp blade or fine-toothed saw
- Permanent marker pen
- Spirit Level
- Hammer, Screwdriver, or Drill – dependent on application type
Step 1: Prepare the Space
Ensure the walls are clean and dry and free from protrusions or debris. Make sure the workspace is clear and safe to work in. Assess the structural integrity of the wall prior to insulating to identify areas that may require fixing.
Step 2: Measure and Cut
Measure the timber frame wall cavities where the insulation will be fitted. Then, measure and cut the PIR insulation boards to size based on the timber frame sections.
Step 3: Fit the Boards
Position the boards against the timber once cut to size ensuring they fit securely within the cavities pushed back to the plywood sheathing. Trim the board further if required to achieve a tight fit. Use a spirit level to check the boards are flush and level to the timber with no protrusions.
Step 4: Vapour Control Layer
Install a vapour control layer over the top of the insulation on the warm side of the stud work.
Step 5: Plasterboard
Plasterboard or insulated plasterboards can then be applied over the top of the insulation sitting vertically over the timber battens.
