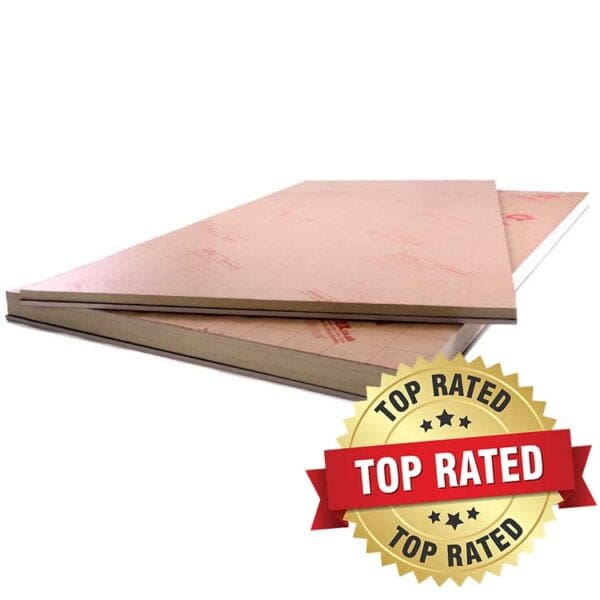
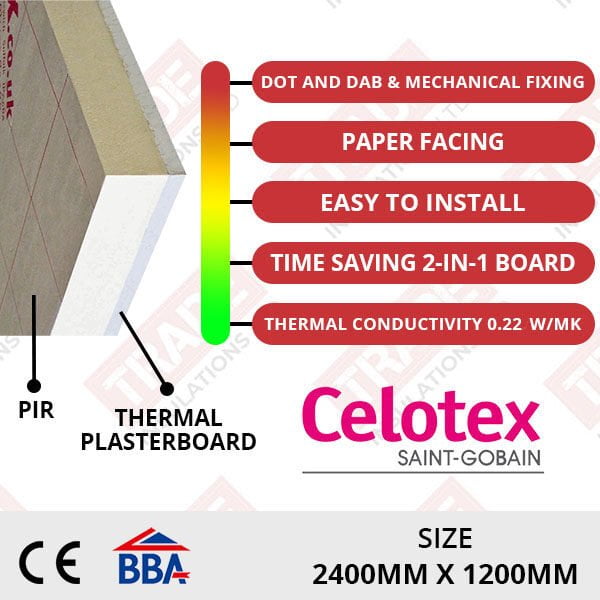
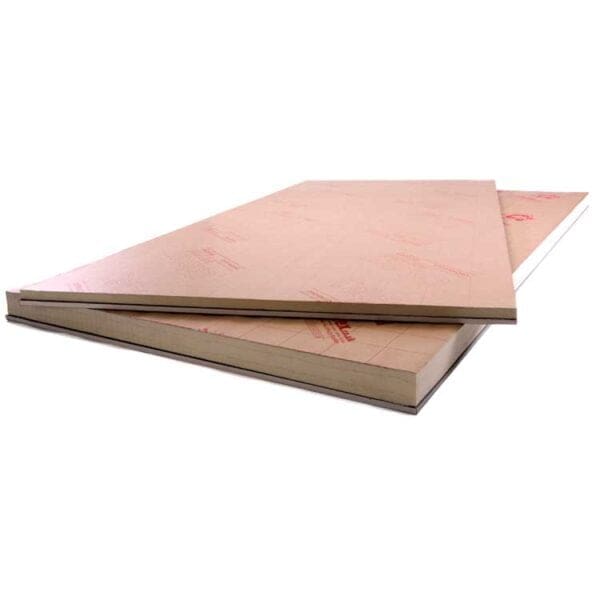
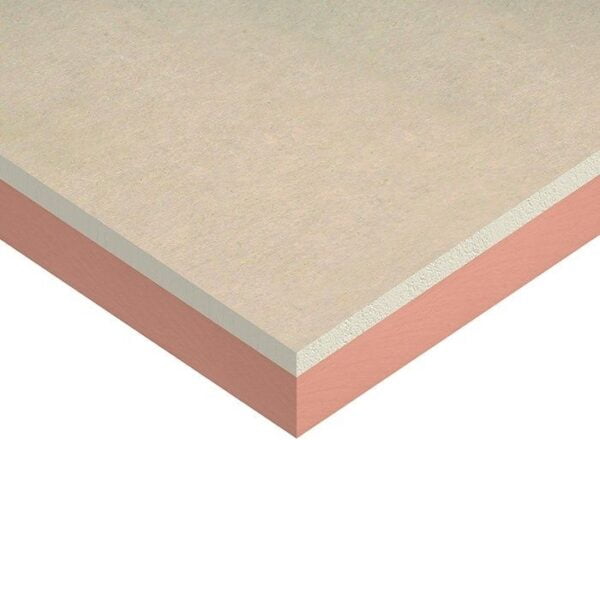
Insulated plasterboards, also referred to as insulation-backed plasterboard, are made up of foil faced polyisocyanurate (PIR) boards bonded to a sheet of tapered edge plasterboard, combining the benefits of traditional plasterboard with insulation properties. Insulated plasterboards offer a solution for improving your properties stability and comfort. Insulated plasterboards will ensure that hot air stays in for the winter, and out for the summer!
This 2-in-1 product saves time and money, eliminating the need to install insulation boards as well as plasterboards. Insulated plasterboards are 2400mm x 1200mm and come in a range of thicknesses between 37.5mm and 92.5mm with a thermal conductivity between 0.019W/mK and 0.022W/mK dependant on the product and the brand.

Considerations when installing insulated plasterboard
See below the things you should consider before you install insulated plasterboard.
Assessing Insulation Needs
Begin your project by evaluating the specific insulation requirements of the space. Different factors will need to be taken into consideration including climate, building regulations, energy efficiency, safety, moisture levels, and space. Where the insulation is being fitted will also determine the insulation thickness and type of application you require.
Understanding R Values
The R-value, also referred to as thermal resistance, of insulated plasterboards determines the effectiveness of preventing heat transfer. The higher the R-value the better the insulation performance. Ensure that the product you wish to use has the correct R-value suited to your climate and insulation requirements to maximise comfort as well as energy savings.
Proper Installation
Using the correct installation method is essential for achieving the full benefits of insulated plasterboards. Manufacturer guidelines will help to ensure your insulation is installed correctly including factors like airtightness, thermal bridging, moisture levels, and structure. Pay close attention to all details inclusive of vapour barriers, sealing joints, ventilation, and fixtures and fittings.
Budget and Long-Term Saving
Insulated plasterboards are a 2-in1 product combining insulation and plasterboards together into one product which saves time when installation takes place.
The insulated plasterboards tend to be a higher upfront cost in comparison to purchasing insulation and drywall materials separately however they offer long-term savings due to the energy efficiency and temperature control, which means reduced heating and cooling expenses. The potential energy savings over the lifespan of the building will result in an overall cost-effective solution.
Compliance with Building Codes
Ensure that your chosen insulation material meets the building requirements and regulations regarding insulation standards, fire safety, and indoor air quality. This will depend on the method of application and location. Failure to comply with building regulations can result in delays, fines, and compromised building performance, all of which can be expensive. Always consult with a building professional prior to buying and installing you insulation material.
Where Can Insulated Plasterboards Be Installed?
Insulated plasterboards can be installed within a variety of applications methods to improve the buildings thermal envelope and the quality of the internal surfaces.
Applications include:
- Roofs – Pitched Roof Insulation – Between and Under Rafters
- Roofs – Flat Roof Insulation – Balconies and Terraces
- Roofs – Flat Roof Insulation – Between and Under Joists
- Walls – External Wall Insulation – Upgrading Cavity Walls
- Walls – External Wall Insulation – Timber Frame Walls
- Walls – External Wall Insulation – Solid Walls
How to Cut Insulated Plasterboards
When cutting PIR insulated plasterboards be sure to carefully plan your installation to ensure an accurate cut whilst maintaining the quality of the insulation and smooth finish of the plasterboard. An accurate cut will make all the difference as well as good execution. Here we will delve into a step-by-step on how to cut PIR insulated plasterboards, what you will need, and safety precautions to best inform you about your project.
What you need:
- Insulated Plasterboards
- Safety Goggles and Clothing
- Tape Measure
- Utility knife or fine-toothed saw
- Ruler or Straight Edge
- Pencil or marker pen
Safety Measures when cutting insulated plasterboard
Protection
Be sure to wear the required safety clothing and gear when cutting insulated plasterboards such as overalls, gloves, goggles, and masks. Cutting insulation material can irritate the skin and eyes as well as the lungs when inhaled. Protective clothing will reduce contact made with the particles. Gloves will also protect the hands from sharp edges.
Equipment
Inspect all tools and equipment to ensure they are free from damage before use. Ensure tools are correctly maintained for optimal performance. Read and follow manufacturers safety guidelines for the tools and materials in use. Be sure to keep sharp tools is a designated area.
Safety
Always adhere to safety guidelines and building regulations. Confirm with an architect or builder that you are using the correct materials for your property in order to avoid causing damage to the buildings structure. This can include the increased risk of mould, pests, and damp.
Step 1: Measure and Confirm
Using a tape measure, measure the dimensions of the installation space to ensure an accurate cut. Mark the required dimensions onto the insulated plasterboard using a pencil or a marker pen. Double-check the measurements prior to cutting to avoid waste.
Step 2: Prepare to cut
When cutting the insulation material ensure you have a flat and secure surface such as a workbench. Ensure there is enough space around the plasterboard to manoeuvre safely. When working in tighter spaces, providing the weather is permitting, cutting the boards outside and moving inside once cut may give you a larger and safer space to cut the boards to size.
Prior to cutting ensure you are wearing the required safety clothing and gear.
Step 3: Cutting the Boards
When cutting the boards using a sharp knife, place a ruler or straight edge along the marked sections of the board to guide the blade. Score the plasterboard side of the board along the marked lines. Keep scoring the board gradually increasing the pressure until the knife cuts through the board.
When using a saw, align the saw with the marked line and cut through the plasterboard and insulation. Keep the blade perpendicular to secure a straight cut.
Once the boards have been cut to size, confirm they align with the installation space and make amendments if required. If necessary, use sandpaper to smooth any jagged edges. Be sure to consider all sockets, outlets, and windows when cutting the boards.
How to Install Insulated plasterboards to a Solid Wall
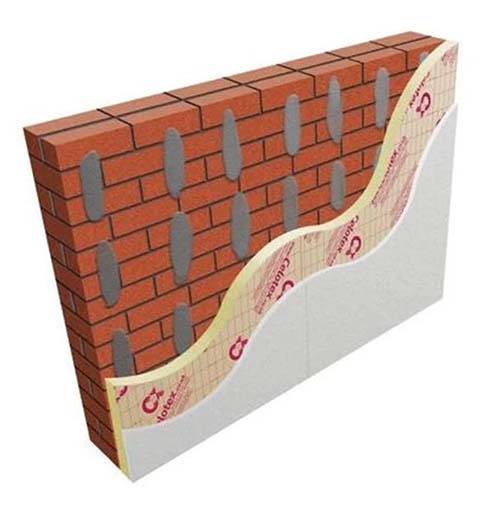
For homeowners seeking to enhance the thermal efficiency of their solid walls as well as the aesthetic appeal, insulated plasterboards emerge as a top-tier solution. These boards not only insulate the property but also serve as a solution for upgrading the wall internal and external quality.
The boards can be applied directly to the solid walls using a dot and dab method.
What you need:
- Insulated Plasterboards
- Marker pen or pencil
- Tape Measure
- Fine-toothed saw or sharp blade
- Protective Gear or clothing
- Spirit Level
- Adhesive
- Bonding Agent
- Scrim Tape
- Straight edge or ruler
- Fixtures – Fixtures suitable for your specific materials such as plasterboard screws, masonry screws, clout nails, etc.
Step 1: Prep the Surfaces
Start by ensuring that the walls are in suitable condition and free from wallpaper or gloss paint and that coving and skirting boards have been removed. Make sure the walls surface is clean, dry, and free from loose materials and dust. To prevent the risk of tripping over within the space, make sure to remove any obstacles and construction waste from the room.
Step 2: Prepare the Boards
Measure the relevant walls and cut the insulated plasterboards to size if required. Prior to fixing the boards, be sure to make adjustments for sockets, switches, and windows. Ensure the boards fit floor-to-ceiling.
Apply a continuous band of bonding agent around the perimeter of the boards and down the centre of the board in 15cm bands.
Step 3: Secure the Insulation
Apply a continuous band of adhesive around the perimeter of the room at the skirting, ceiling, and around all openings such as doors and windows to secure a continuous seal. Apply 3 vertical rows of adhesive per board to the solid wall. Ensure the adhesive is 50-75mm wide and 250mm long.
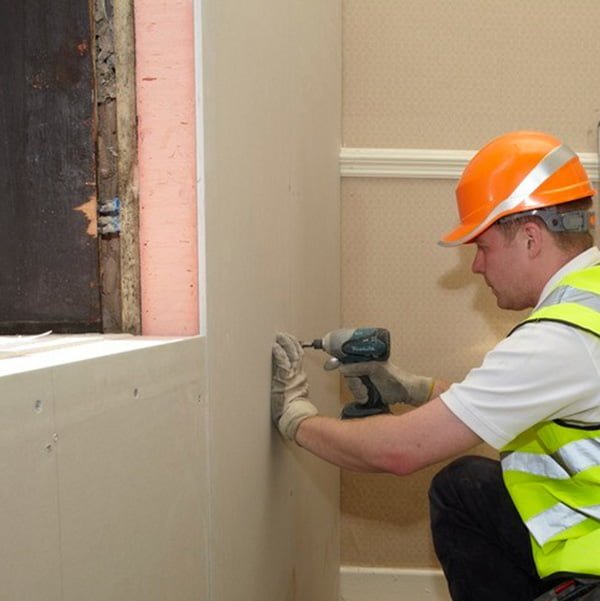
Align the boards to the wall and press the board against the adhesive. Once the adhesive has set, secondary fixtures and fittings are recommended to secure the boards in place.
Ensure the boards are installed tightly butted together at the joins. Apply scrim tape to all board joins ready for a layer of skim or plaster.
How to Install Insulated Plasterboards into a Pitched Roof
This application utilises the space in the roof in between and under the rafters. This space can be insulated when installing a new roof, insulating the loft, or converting a loft space into a room in the roof.
Pitched roof insulation is installed by cutting the PIR insulation boards to size and fitting them in between the roof rafters. The space can also be insulated with insulated plasterboard by installing the boards horizontally over the top of the rafters for a smooth finish.
- PIR Insulation Boards
- Insulated Plasterboards
- Marker pen or pencil
- Tape Measure
- Fine-toothed saw or sharp blade
- Protective Gear or clothing
- Spirit Level
- Scrim Tape
- Straight edge or ruler
- Fixtures and Fittings
Step 1: Measure and Cut
Installing an underlay or membrane is recommended prior to installing insulation materials. Measure the space in between the rafters. Be sure to measure each space individually as dimensions may differ, particularly within older buildings. When you have measured your installation space, mark the insulation boards, and cut to size.
Step 2: Install the Boards
Start at the further corner of the loft space and work your way back toward the opening. Friction fit the PIR boards into the space between the rafters. If the boards fit too tight, simply run your fine-toothed saw down one edge of the board. Ensure the boards are pushed to the back of the space. Repeat until the PIR insulation boards have been installed within each and every space in between the rafters. For the best thermal quality, ensure a continuous layer of insulation and apply foil tape to any board joins.
Step 3: Insulated Plasterboards
Once the PIR insulation boards have been installed between the rafters, install insulated plasterboards. The Insulated plasterboards should be installed horizontally, running across the rafters. Measure and cut the boards to size so that the boards meet at the centre of the rafters. Use the required mechanical fixtures and fittings to secure the boards. When converting your loft space or creating a complete storage space, apply scrim tape to all joints. The boards can then be skimmed or plastered and decorated.
How to Install Insulated plasterboard to a timber frame
Insulating a timber frame is a sustainable and popular alternative to cavity wall insulation. Here the timber frame can be applied directly to the solid wall which also makes this a great alternative to dot and dab applications. Insulation boards can be installed between the studs and insulated plasterboards fixed onto the timber frame.
- Insulated Plasterboard
- PIR Insulation Boards
- Damp Proof Course (DPC)
- Marker pen or pencil
- Tape Measure
- Fine-toothed saw or sharp blade
- Protective Gear or clothing
- Aluminium Foil Tape
- Scrim Tape
- Straight edge or ruler
- Fixtures and Fittings
- Timber Battens
Step 1: Fix the Timber Frame
Measure and mark the walls to indicate where the battens will be installed. Prior to installing, attach a layer of damp proof course (DPC) to the back of each timber batten. Battens should be applied horizontally around the top and bottom of the walls and vertical battens at 600mm centres within the horizontal frame. Battens should be applied around all openings. Fixings should be no more than 600mm apart and 75mm in from the end of each batten. They should penetrate the solid wall at a minimum of 75mm.
Two timber battens can be applied vertically at the back corner of the timber frame to create a ‘stop’ and prevent the insulation sitting against the solid wall.
Step 2: Install Insulation Boards
Ensure the PIR insulation boards have been tightly fitted within the timer frame. The boards should push back to the timber battens and sit flush with the timber frame with no protrusions. Any gaps within the insulation and the frame should be filled with sealant and butted boards should be sealed with foil tape to avoid thermal bridging.
Step 3: Apply Insulated plasterboards
Install insulated plasterboards horizontally over the timber frame. Cut the boards to size 5mm short of the floor to ceiling height taking openings such as windows and outlets such as sockets into consideration. Ensure the boards are butted together at the centre of the timber joists, no less than 10mm short from the board edges. Secure the boards using galvanised clout nails at 150mm centres. Fixings should embed just below the surface of the plasterboard, 25mm into the studs.
Step 4: Secure the Wall
Secure the boards with the required fixings and seal boards joins with the joint tape.
Seal the 5mm clearance gap at the base of the wall with flexible sealant or equivalent. Seal around all penetrations from electrical socks and outlets as well as around windows and door frames. Fill all fixture holes.
